A phone that only charges at a certain angle is usually not "on the way out". More often, the charging port is packed with lint, dust or pocket debris that stops the cable from sitting properly. If you are wondering how to clean charging port safely, the good news is that you can often sort it at home - as long as you are gentle and do not use the wrong tools.
Why charging ports get dirty so easily
Charging ports sit at the bottom of most phones, which means they collect fluff from pockets, handbags and desks all day. Every time you plug in a cable, that debris gets pushed further in and compacted. After a while, the charger may feel loose, charging may cut in and out, or the device may stop recognising the cable altogether.
This does not always mean the port is damaged. Dirt can mimic the same symptoms as a faulty charger, worn cable or failing battery, so a careful clean is a sensible first step before spending money on parts you may not need.
What you should and should not use
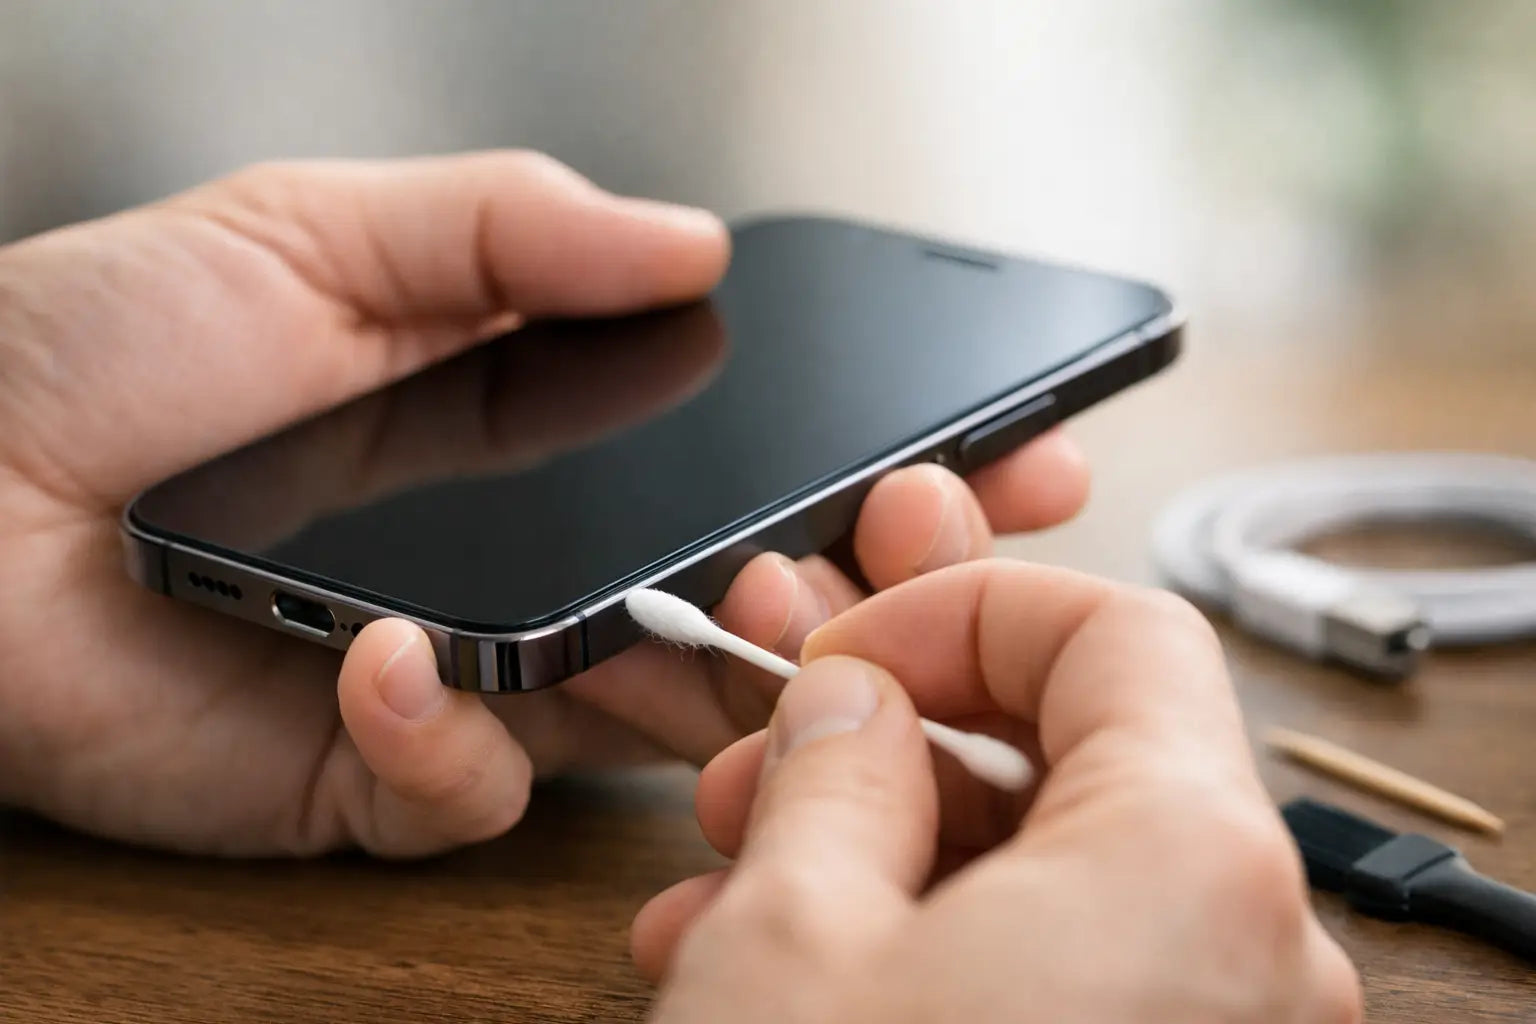
The safest approach is simple. You want something dry, non-metallic and fine enough to lift out compacted debris without scraping the internal pins.
A wooden toothpick, a plastic dental pick or a soft anti-static brush can work well. A torch also helps, because if you cannot see inside the port clearly, you are more likely to poke blindly and cause damage.
What you should avoid matters just as much. Do not use metal pins, paper clips, tweezers or anything sharp enough to scratch the contacts. Do not pour liquid into the port, including water, screen cleaner or rubbing alcohol. Compressed air is a bit of a grey area. It can help in some cases, but it can also push debris further in or force moisture into the port if the can is not used correctly. For most people at home, a dry manual clean is the safer option.
How to clean charging port safely at home
Start by switching the device off completely. If it is plugged in, unplug it first. This reduces the risk of shorting anything while you work and gives you a better chance of seeing what is happening inside the port.
Move into good lighting. Use your torch and look into the charging port from a slight angle. You are usually looking for a line of compacted grey fluff sitting at the bottom or around the edges. On many phones, especially ones carried in jeans or jackets, it can be packed in very tightly.
Take your wooden or plastic tool and gently insert it into the port. The key word here is gently. You are not digging hard. You are teasing debris away from the sides and lifting it out in small amounts. Work slowly and keep the tool angled away from the centre pins wherever possible.
If bits start coming loose, remove them and check the port again with the torch. It is better to repeat a light pass a few times than try to clear everything in one go. Rushing is where people bend contacts or snap tools inside the port.
Once the visible debris is gone, use a soft dry brush around the opening to remove any loose dust. Then reconnect your charging cable and check the fit. A clean port usually gives a firmer click or a more secure connection than before.
If charging returns to normal, stop there. There is no benefit in over-cleaning a port that is already working properly.
Common mistakes that cause more harm than good
The biggest mistake is using metal. It feels precise, but the charging port contains delicate contacts that can be scratched, bent or shorted very easily. A bent pin can turn a simple cleaning job into a full charging port repair.
The second mistake is using liquid because the port "looks sticky". Dirt inside a port is often compressed fabric dust, not grime that needs dissolving. Adding liquid can leave residue, trap moisture, or affect the contacts if the phone is powered on too soon afterwards.
Another common issue is assuming force will fix it. If the cable does not click in after a gentle clean, forcing a tool deeper into the port rarely helps. At that stage, it could be corrosion, internal damage, a damaged charging cable, or a worn port rather than simple dirt.
When the problem is not dirt
Cleaning helps when debris is the cause, but it will not solve every charging issue. If your phone still charges slowly, refuses to charge with multiple cables, or only responds when the connector is held at a very exact angle, there may be a hardware fault.
Look for a few clues. If the cable feels loose even after cleaning, the port itself may be worn. If charging is intermittent across several chargers, the port or charging circuit could be faulty. If the device got wet recently, corrosion may be developing inside. And if the battery percentage jumps around or drains unusually fast, the issue may be the battery rather than the port.
This is where guessing gets expensive. Buying a new charger, then a cable, then trying to clean the port again can waste time and money if the real fault sits elsewhere.
How to tell if your charging port needs professional repair
A professional check is the safer move if you can see bent pins, if part of the charger tip has broken off inside, or if the port feels physically damaged. The same applies if you have already cleaned it carefully and there is no improvement.
It is also worth getting help if your device is important for work, college or family use and you cannot afford trial and error. A quick inspection can confirm whether the issue is dirt, a bad cable, battery trouble or a damaged charging assembly.
For many customers, that matters more than trying five home fixes from random videos. You want the problem identified properly and sorted without making it worse.
A few device-specific points worth knowing
USB-C ports and Lightning ports both collect fluff, but they are not identical. USB-C ports can trap debris along the inner edge and around the central tongue, so extra care is needed. Lightning ports often get compacted lint at the base, which can stop the connector seating fully even when the outside looks clean.
Tablets and some smartwatches can be more awkward because of smaller openings or magnetic charging systems. Laptops are another case entirely. Their charging ports vary by brand and model, and some are less suitable for DIY cleaning if the connector design is narrow or recessed.
So yes, the basic principle is the same, but the amount of pressure, the tool shape and the risk level can vary from one device to another.
How to keep the port clean for longer
You do not need to clean the port every week. In fact, constant poking is not a great habit. What helps more is reducing the debris that gets in there to begin with.
Keep your phone out of lint-heavy pockets when possible, especially loose jean pockets and coat linings. Give the charging cable tip a quick wipe now and then, because dirt on the connector gets transferred straight into the port. If you work in dusty environments or carry your phone on site, a case with a port cover can be worth it.
It is also smart to stop using damaged cables. Frayed or bent connectors can wear the port over time and create symptoms that look like dirt but are really mechanical damage.
If you are unsure, stop early
There is no prize for doing the whole job yourself if the risk is a damaged port. If you cannot see clearly, do not have a safe tool, or feel resistance that does not make sense, stop and get it checked. A basic clean is low-risk when done gently. A stubborn blockage is where DIY can go wrong.
At First Help Tech, we see plenty of charging problems that started as pocket lint and plenty that turned into repair jobs after someone went in with a pin. The difference is usually patience and using the right method.
A careful clean can save you hassle, but if the charger still will not sit right, trust what the phone is telling you. Sometimes the cheapest fix is knowing when to stop before a small issue becomes a bigger one.